Citroen DS seat cover replacement part 7
Removing the seats from the car is an easy way of cleaning underneath them, and the trim underneath my seats was rather dirty. A good clean showed the original vinyl trim in good condition, which was great to see. Shame about the blue carpet, but that will be a project for the future.
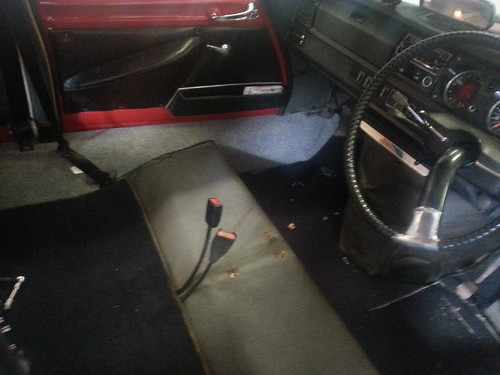 I found that it was easier to remove the drivers seat before I tried to re-install the passengers seat, not only to get a good clean, but also in terms of access to the four bolts that hold the seats down.
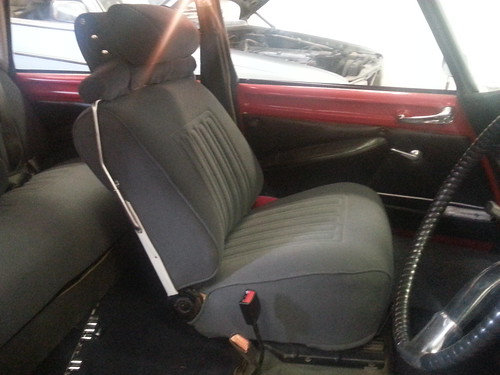
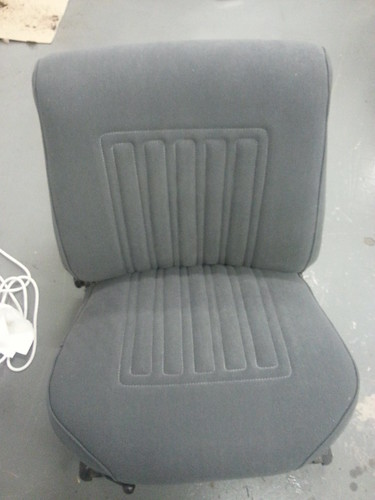
In part 6, the passengers seat was completed, and so I installed it today. It is easier to remove the headrest to install the seat, and then it can be added later. I’m really happy with the look and the comfort of the new seat covers. The fabric had a great feel and the extra foam makes them like an overstuffed couch. Will look great with the matching door cards.
The next task was to start on the drivers seat. I had left that until last, as given it has the most use, I wanted to have the most experience in working with the seat covers before I attempted it.
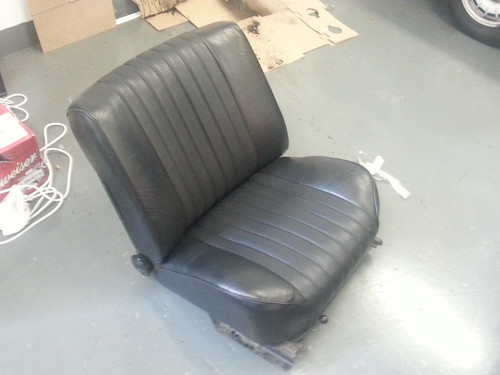 As with the passengers seat, the foam was in fairly good condition, although the drivers seat looked like an old lady’s couch with a stunning floral pattern. So tempting to leave the bottom cover off so I can admire it daily.
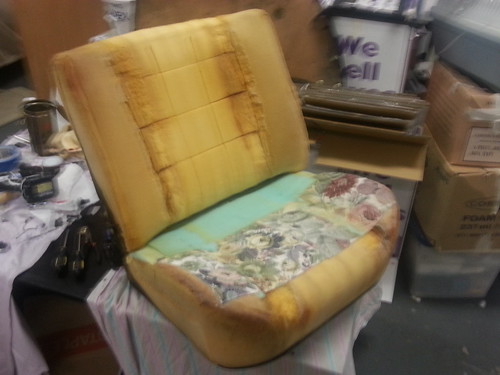 Similar to the passengers seat, I added the extra foam.
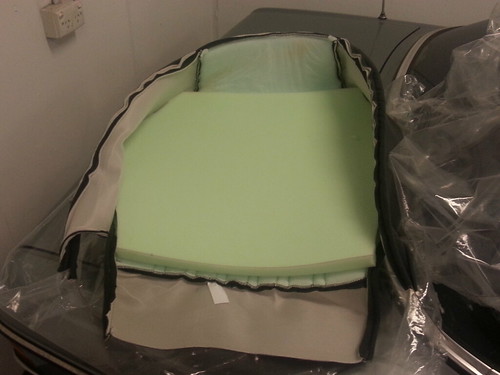 The extra foam makes it a bit hard to stretch the covers on, but bulldog clips make attaching it fairly easy. I have used bulldog clips extensively during this project.
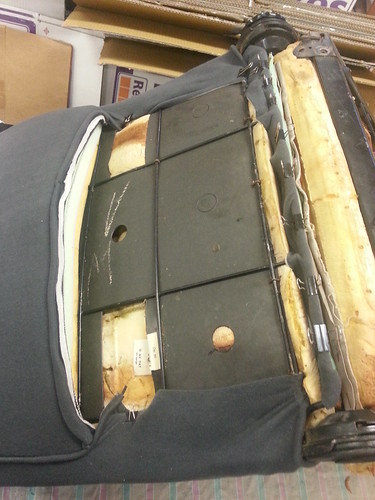 From there, I was able to attach both the top and bottom cover to the frame, and start gluing the backing to the seat back cover. The ashtray I removed from this seat was black to match the Targa seat. I need to check in some of my books what colour it should be – for now I may leave it out as nobody will be smoking in this car – even if it is French.
In much shorter time than the passengers side, the covers were on and the seat is ready for the glue to dry on the backing plate to allow me to fit that, then the headrest before it goes back into the car.
I anticipate the next part to be the final installment for the seat cover upgrade project, with only door cards left!







where can i fine two front bucket seats for a light 15 any condition
you could perhaps try CCOCA?
https://citroenclassic.org.au/wordpress/
Wow, what an incredible restoration job! Your attention to detail and craftsmanship is truly impressive. This step-by-step guide is invaluable for anyone tackling a similar project. Thanks for sharing your expertise!