Retrosound Model 2 in a Citroen DS – Revisited
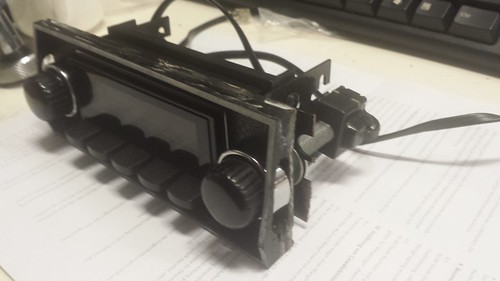
Last year I installed a Retrosound Model 2 radio in my Citroen DS. Overall, I was happy with the result, but there were one or two small things that were not working as I expected. This was mostly down to so little space for the unit in the DS, as it is hard to get the radio face and knobs to fit inside the original cubby in the dashboard. My goal was to install the radio without cutting into the dashboard, so I had to come up with a creative solution. This involved cutting up the little plastic cubby (which is fairly easily replaceable) and separating the face of the radio with the chassis. This generally worked well, but the knobs were hard to use and got stuck, so sometimes the radio would find a life of its own and advance tracks. In addition, where I glued the face plate to the chassis, I had not done a good job with the glue so residue was quite obvious.
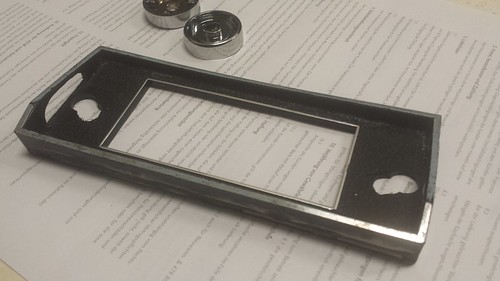
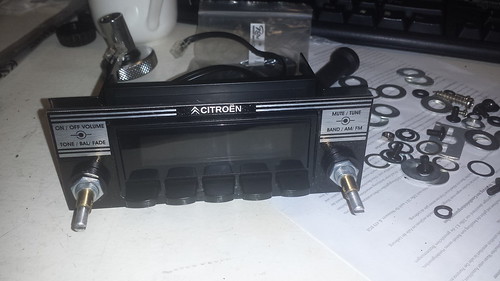
Subsequently to that, a few other members of the aussiefrogs forum were also installing Retrosounds in their cars. In particular, one member produced some great looking face plates. I was lucky enough to get one, so since I was not 100% happy with my original install it was a good opportunity to try something different. I also ordered a some different knobs from the retrosound range. There is still a fitment problem, as if you look carefully in the aussiefrogs thread, the knobs are mounted out the outside of the cubby and stick out a long way. This is not what I wanted for my radio, so I will have to come up with a creative solution. In the meantime, I have a few cubby from ebay France and have been trial fitting the new face plate.
There is still quite a bit to do here.
- Finalize the fitment of the shafts, faceplate, screen and front knobs
- Find a solution to the rear knob not fitting problem (my current idea is to cut one of the plastic ones I have down to size)
- Cut the cubby in half and fit the assembled unit to the cubby
- Reconnect the unit to the chassis and fit to the car.
- Test and make any necessary adjustments







I began with this post and installed a Retro Laguna in my 71 DS. The CintroenVie recently included how I did it and what parts to use. Dashboard was not modified and radio fits in the “cubby” which holds the radio. Holes were made in the back and sides which are not visable when in dashboard. Thanks for your work.