DS sill trim – replacement part 2
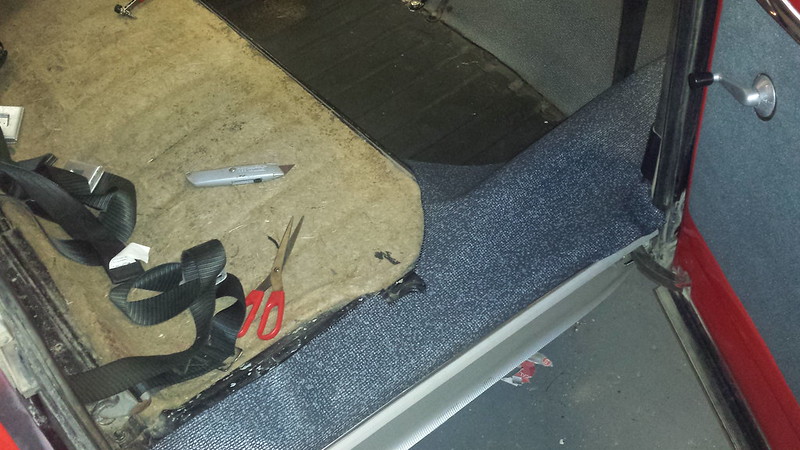
The DS has large box sections that run down both sides. On the DS comfort, there are various bits of vinyl trim that cover these sections. In part 1, I had replaced the outer trim and door sealing strips. Next was the inner trim. The inner trim comes mostly pre-cut to size, but it needs to be trimmed and also adapted for a right hand drive DS, especially around the height selector rod. This trim is quite thick, so I found tin snips the easiest way to trim it.
The trim is inserted into the metal strips that also hold the inner door seals. It is then glued down to the box section.
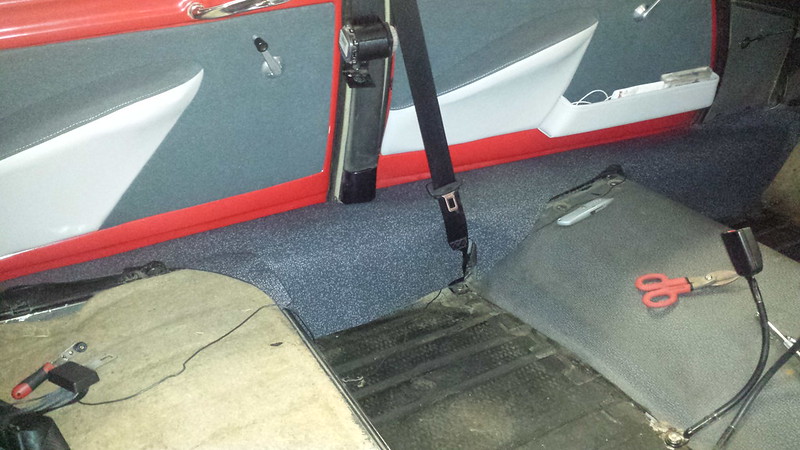
I found most of the trimming for the drivers side needed to take place around the base of the B pillar and the raised section where the seats are bolted. The hardest part is for the height selector, which I have not done yet. There is also a cut needed around the rear seat too.
On the passengers side, there are two cut outs for the heater hose for rear passengers (both the entry and exit of the box section), the height selector rod, wiring harness at the rear and on my car the seatbelt mount. Minor adjustments are also needed for the base of the B pillar and near the seats as in the drivers side. As can be seen from the picture above, the original piece under the seats has faded quite a lot in 45 years, but the pattern is the same.
What is next is to trim around the height selector and glue down the trim.


2 Responses
[…] DS sill trim – replacement part 2 […]
[…] marine carpet with proper vinyl sill trim (Part 1, Part 2, Part 3, Part 4, Part 5, Part […]