S211 Rear Suspension
I don’t feature the E350 Wagon on this site much. It is the main family car, mostly driven by my wife. The S211 is (in my view) a much better option than the plethora of SUV’s on the road. The lower ride height makes loading babies and prams easy and it drives and handles like a proper car.
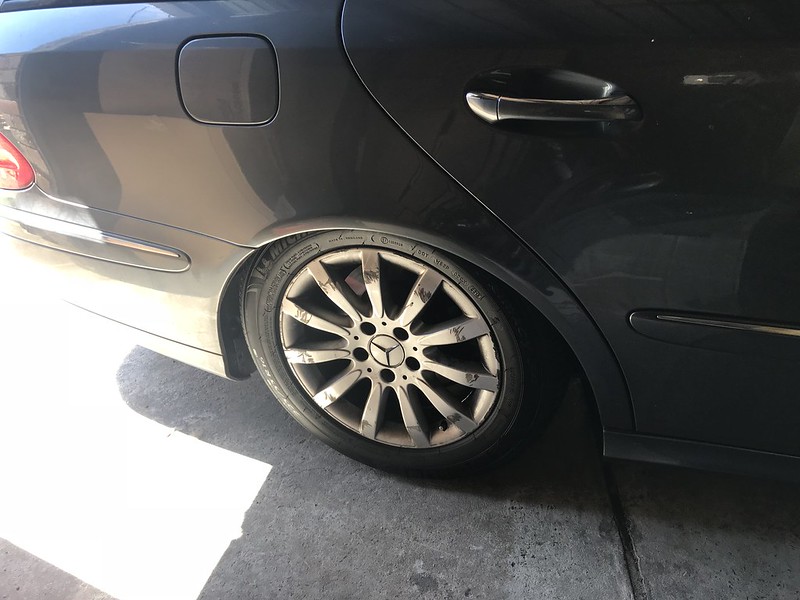
Just after Christmas, the rear of the car would drop down on one side after the car was not used for a couple of days. It quickly escalated to dropping down after only a few minutes. At that time I didn’t understand the S211 rear suspension system so took the time to research it a little. I didn’t think I had Airmatic on the car, so was quite surprised by this behaviour.
I don’t normally do much work on this car, but my mechanic was away for the first few weeks of January. Turns out that this is a common problem on the S211. Unlike the S123, S124 and S210, the S211 uses air springs instead of a hydropneumatic system for self levelling. It is a cut down version of airmatic, just like the older cars used a cut down version of the full hydropenumatic system. Instead of steel springs, there are two air springs that are fed from an air compressor at the front of the car. These air springs fail and no longer hold air pressure. Over time, they also burn out the air compressor as it must run all the time to maintain ride height.
The Mercedes springs are very expensive, but Arnott make an aftermarket spring that apparently has a tougher bladder. I read good things on the forums about other owners who had used these springs so ordered a pair.
Arnott provide a video explaining how to fit the springs.
https://www.youtube.com/watch?v=Gkml0i61H2A
The video makes it seem simple, and in some ways it is. I did spend about 6 hours doing the first spring as there were a few things that were not obvious. The first was that disconnecting the air line does not remove enough air pressure to remove the spring. It needs to be manually deflated like a tyre. I found a dental pick in the air intake was the easiest way to achieve this. The video also suggests you undo the sway bar linkage and remove it. I found that wasn’t necessary. Removing the air line took a while at first, but a 10mm spanner proved easiest.
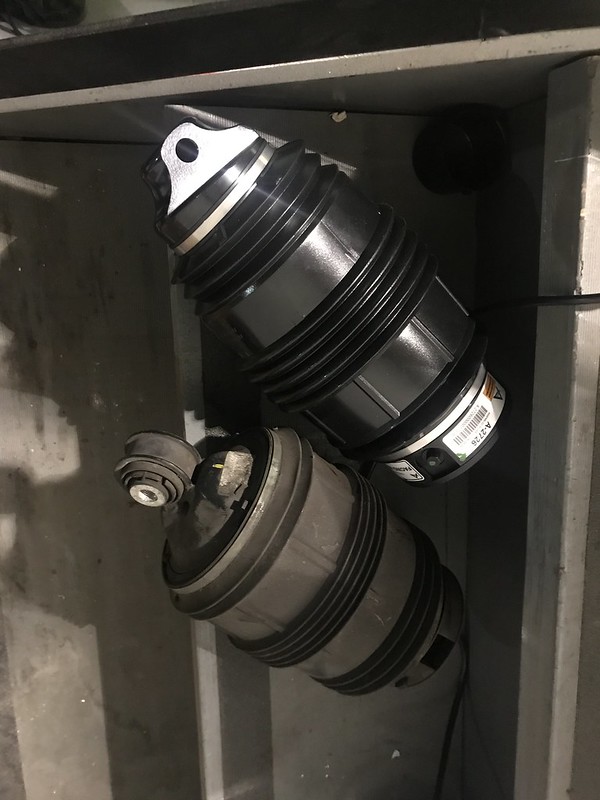
The new Arnott springs (below on the right) seemed more robust than the springs on the car. I could not see any Mercedes part numbers, so I assume they have been changed before.
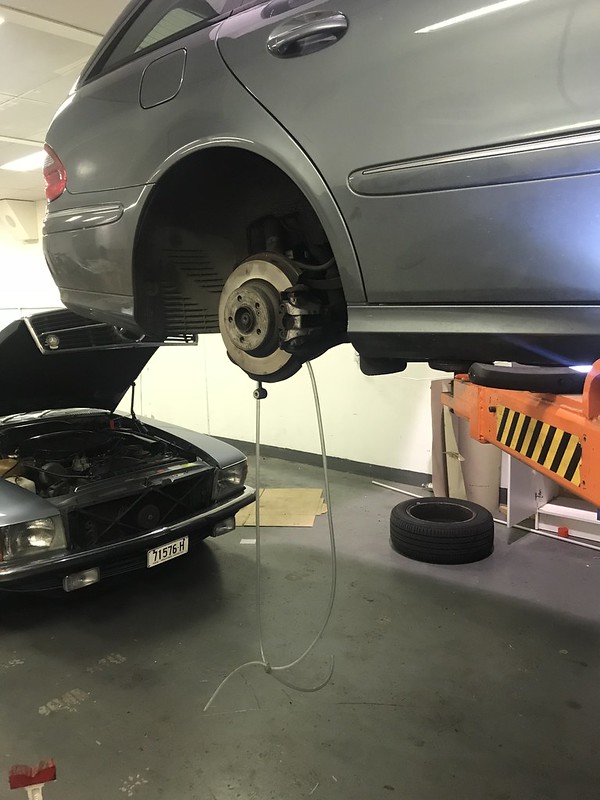
The job would be simple with an assistant, one person to pull down on the suspension arm and the other to remove/fit the air spring. I didn’t have one, so found that some plastic tube allowed me to use my weight to pull down on the suspension in a gradual way to perform the job.
The picture above shows this in action. This was the first side I did, as I removed the sway bar linkage here. I also found that if you try and test the system with only one side done, you get a malfunction message on the dash. After all the trial error on the first side, the other side was done in 1/3 the time. The job is also easier with access to a 16mm and 18mm spanner. I had those sizes in sockets, but not spanners.
Once I was finished, at first I thought I had stuffed up the job. When I drove the car home it drove great, but then sank down once I had parked it. Turns out one of the air lines had come out and everything was back to normal after it was reconnected. I used a zip tie to attach the air line to the wiring connection as it was before which should hopefully prevent that from happening again. The S211 rear suspension is now back to working as it should!


