Mounting the DS boot lid
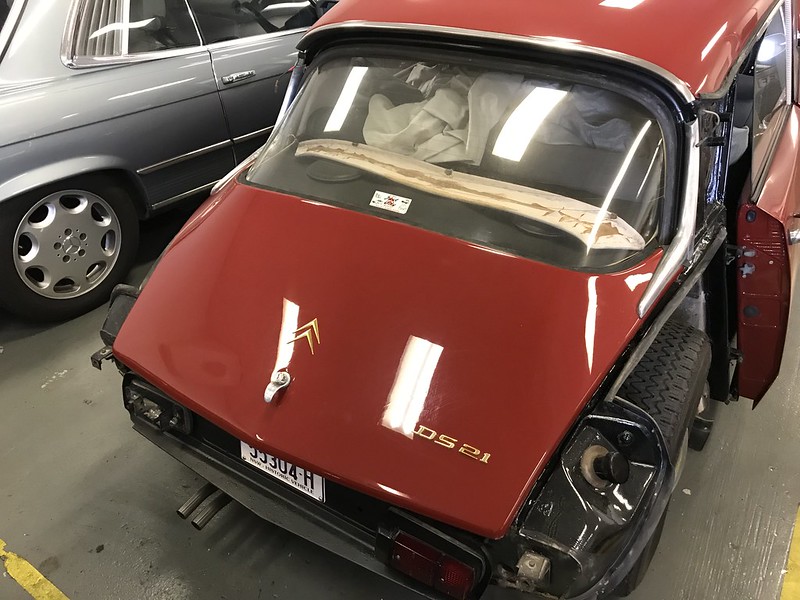
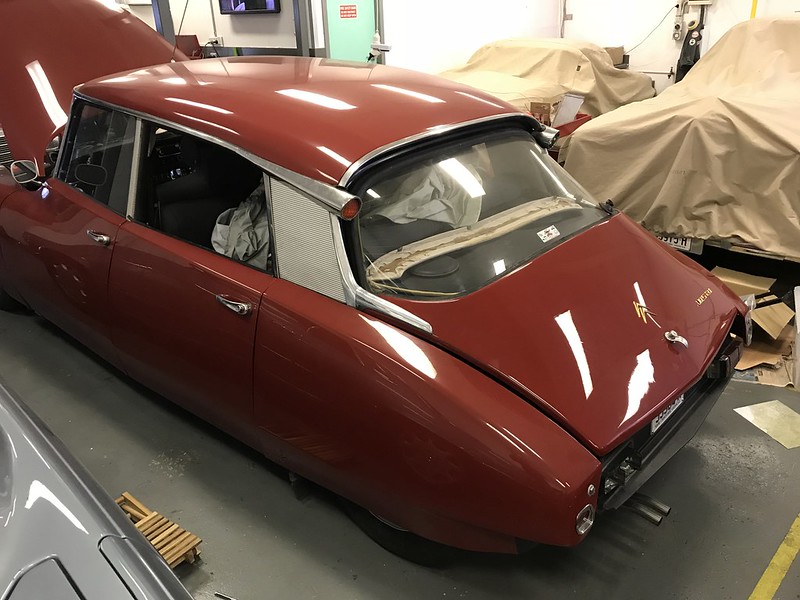
The DS is finally looking more like a car, now I have mounted the boot lid. A couple of weeks ago I prepared the boot lid for mounting. This involved adding the seal, locking hardware etc. Today, I added the top seal and then fitted it to the car. The top seal has metal clips to hold it in place. Its much easier to add the seal with the metal clips attached rather than trying to remove them.
The first task was to attach the hinges to the boot lid. There are four bolts and some rubber gaskets between the hinges. I had already polished up the hinges as best as I could. The DS hinges are polished aluminum on the non-Pallas models like mine. While mine are pitted and in average shape, I wasn’t able to find any better ones. The Pallas ones are chromed, but the metal underneath is fairly poor quality and the chrome flakes off. Many owners of DS Pallas models try and source the non-Pallas hinges!
The hinge attaches to the car with one bolt each side. I did a test fitting and it all seemed to fit quite well. With a few adjustments on each side I was able to get it to latch properly. The top seal is not a great fit on the drivers side, same as before I disassembled the car.
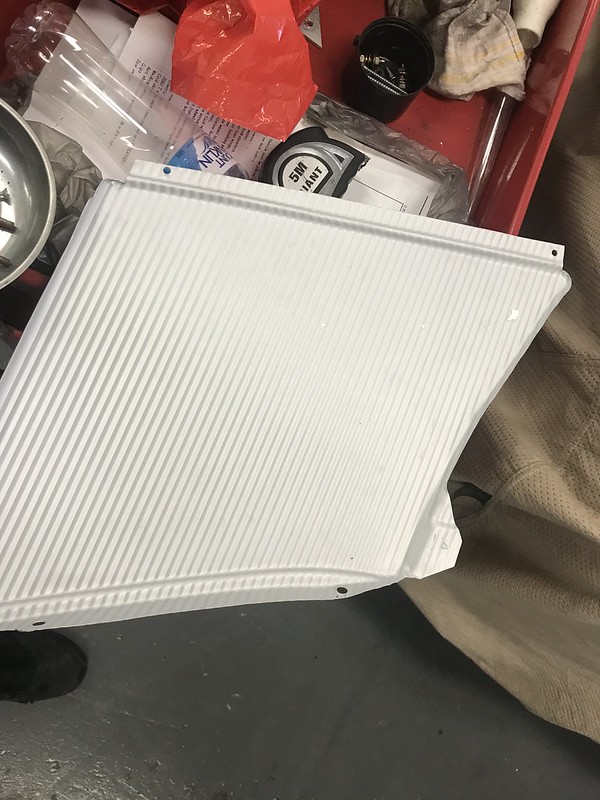
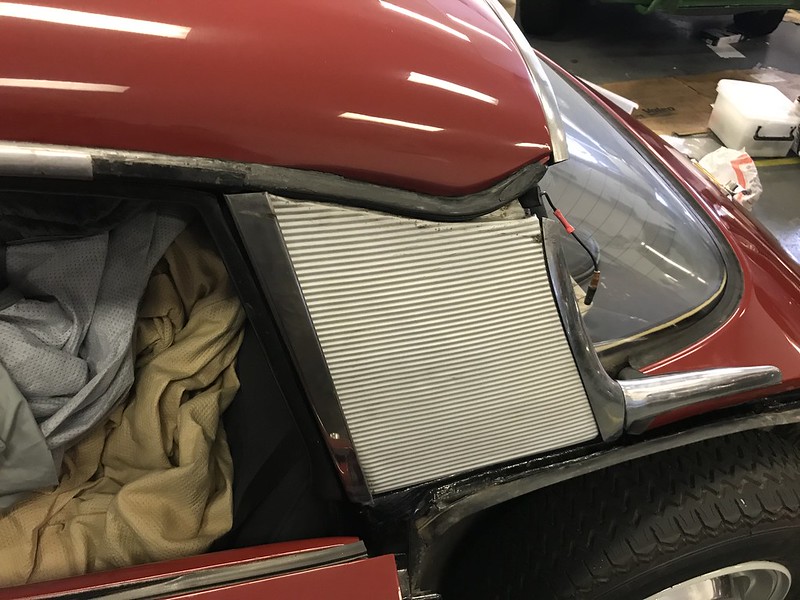
When I removed the boot lid from the car originally, I first removed the C-pillar trim and then the boot hinges. Trying to use the same method to-reassemble proved impossible and I lost a few hours. it was much easier to remove the boot lid again and fit the trims to the hinges. I purchased a brand new one for the drivers side, and for some reason they don’t come pre-drilled for the indicator ground. I had to drill a hole in the top for this before fitting it.
Once the trims were fitted to the hinge, the the whole assembly could be offered up to the car. It was a bit fiddly to get it all lined up, but much faster than trying to add the trims after the boot hinges are in place. Once the assembly is sitting properly, the trims are screwed into the car, and the vertical chrome strip attached. Both use small screws straight into the body work. I’m really liking how these new trims look on the car. Much better than the wavy old ones with bad overspray.
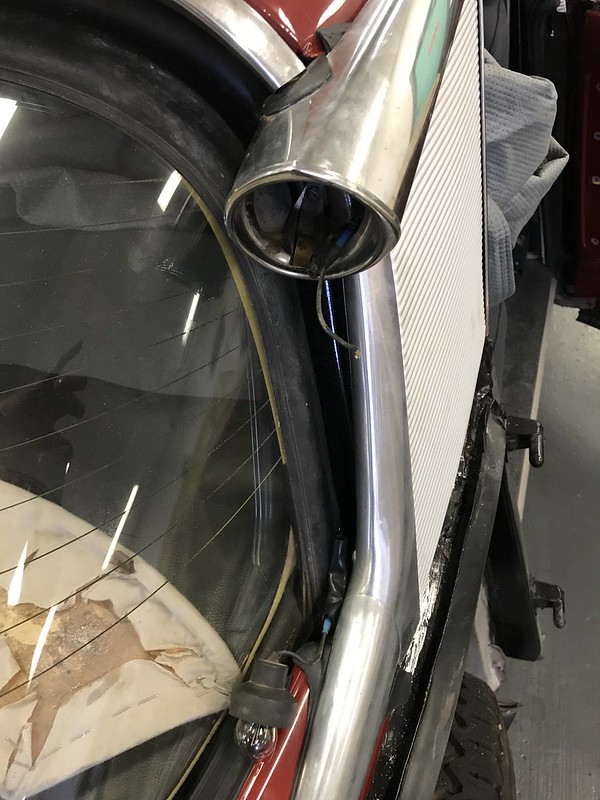
The indicator trumpets go on next. These mostly just slide on, there is one screw that is used to hold in the indicator light. First the main trumpet slides onto the car, then the embellisher is screwed in as part of the indicator light bracket. Unfortunately, one of the ground wires came out of my indicator light when I was fitting it. clearly it had already been welded once before, so it is probably better to buy a new one.
The final step is installing the actual indicator light and lens. Since one of them is broken, it will have to wait for another day. I did refit the rear wings as they only need to be removed to bolt the hinges to the car. I feel like I made a lot of progress today, with the boot lid mounted, new c-pillar trims etc. Next step is mounting the door cards to complete the interior. I would like to get the car back on the road before the end of May if possible. The DS is not much fun to drive in the heat of summer, but the rest of the year it is great!







1 Response
[…] Mounting the DS boot lid […]