450SLC Battery tray
I had not driven my 450SLC since early march due to the COVID19 lockdown. When I first started the car the battery seemed quite weak. After a drive, I put the car on my Ctek charger. The charger showed an error where the battery will would not hold a charge. This was confirmed by my Solar battery tester. The recondition mode helped a bit, but ultimately the battery is almost 8 years old.
I probably would have tried a bit harder with the reconditioning if it wasn’t for a 30% off sale on DIN batteries at Supercheap auto. It seemed like a good opportunity to replace the battery with a new one. The SLC calls for a DIN65L size. The Century battery I purchased has a 660 CCA rating which is better than the 600 rating of the NRMA battery it replaced.
The SLC battery is easy to remove. The battery is held down with a bracket. You’ll need a 10mm deep socket and a long extension to easily remove it. With the battery removed, I was able to see the condition of the 450SLC battery tray. Over the years leaks from various batteries had caused the battery tray to develop surface rust. It seemed a good opportunity to repair this.
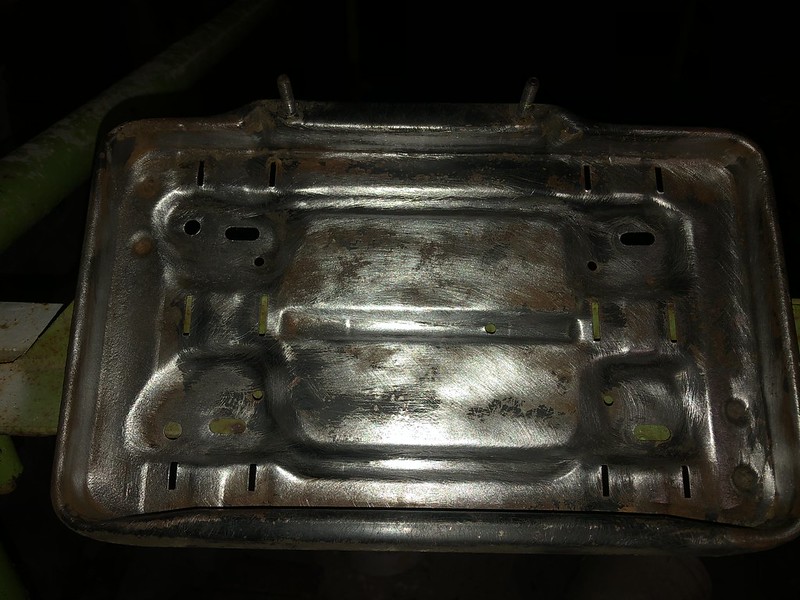
The 450SLC battery tray is held down with four bolts that can be removed with the same 10mm socket. Once it is removed it is a simple matter to clean it up with a wire brush attachment on a drill. Unfortunately the SLC was blocking in the other cars so I needed to make a quick job of it. The battery tray cannot be seen once the battery is installed, so the objective was to reduce rust rather than cosmetic. Still the wire brush attachment cleaned it up rather well.
The picture is not great as I was doing the job at night and I only had a mobile phone to illuminate. It showed that the rust was just surface rust and the battery tray was in otherwise good condition. In the ideal situation, I would have used some turps to clean the battery tray after this. I didn’t have any so just blew the dust off it and used some rags. After this most basic cleaning I primed the surface. I went with a separate primer as I thought it would be more durable than a paint and prime.
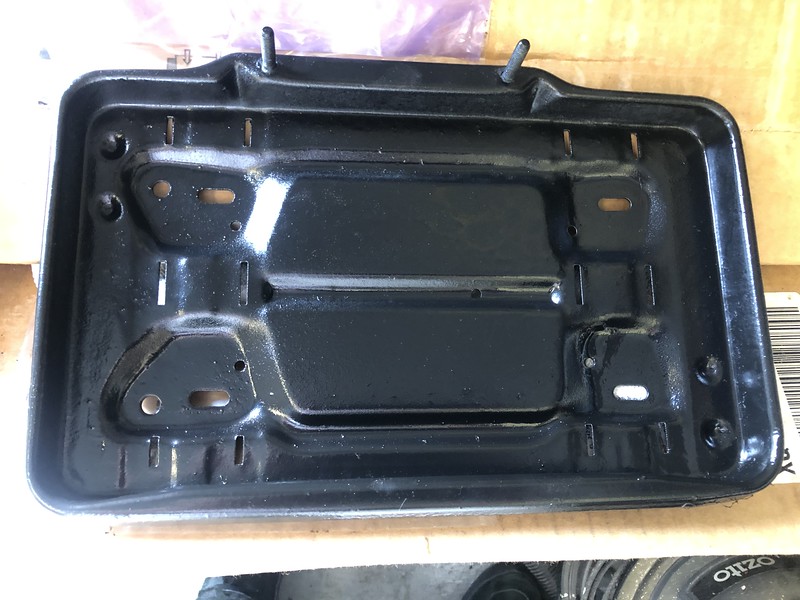
Once the primer had tried, it was time to apply the top coats. My 450SLC battery tray was starting to look pretty good again! There is some grit in the paint where my cleaning job wasn’t quite up to scratch but overall I am pretty happy.
Once I let the paint properly dry, I cleaned the threads. it was easier than masking them off, especially as I didn’t have tape on hand. I had a cheap tap and die kit I purchased at Harbor Freight in the US which came in handy.
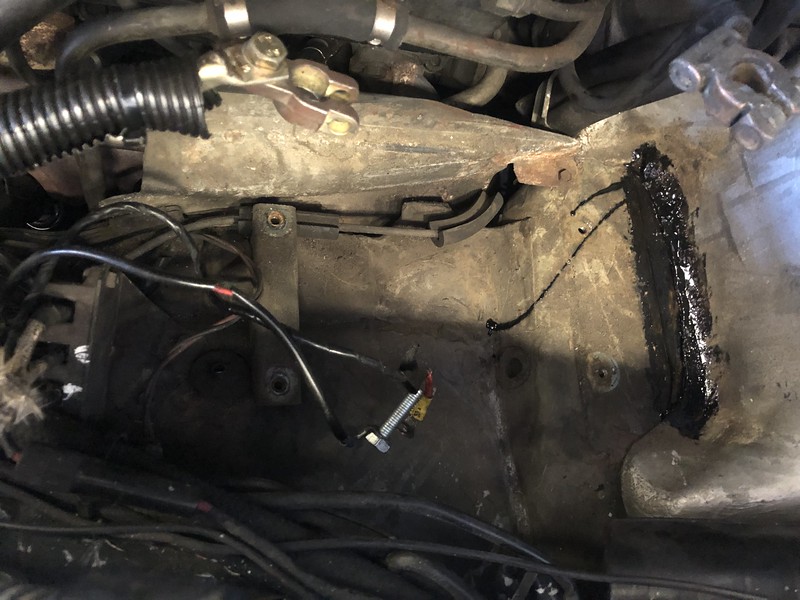
The other advantage of removing the 450SLC battery tray is the ability to clean underneath it. There was a fair amount of dirt and debris that would be impossible to clear without removing the tray. There was also a low point where a bit of surface rust had formed. I treated this while i was at it.
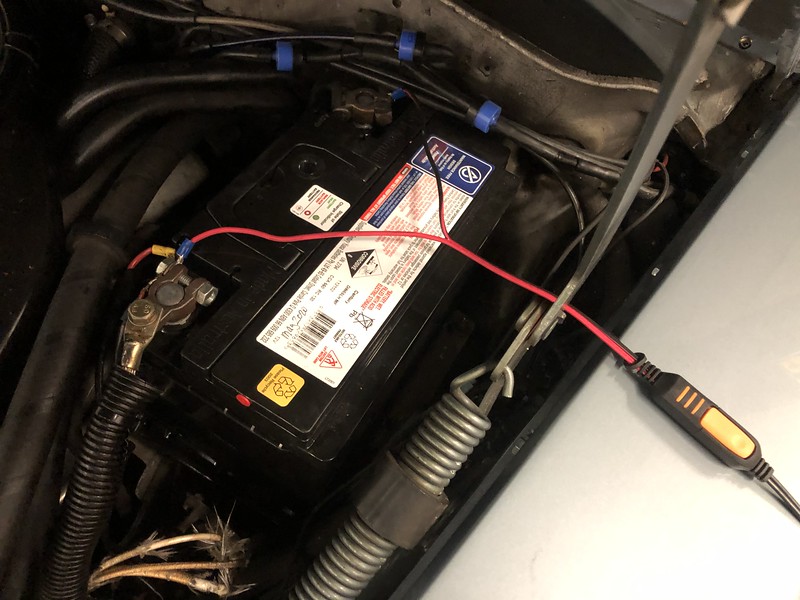
Finally, a new battery was also an opportunity to fit an attachment for my Ctek battery charger. I didn’t do a full disconnect switch like on the 250SE but the attachment makes it easier to connect the charger. For some reason the Ctek attachments have really small eyelets so I cut those off and crimped in bigger ones that I could attach to the battery terminals.
I always write the month and year I replace the battery on top to quickly see its age later. The battery I was replacing was from 2012.









1 Response
[…] previously repaired the battery trays on both my 450SLC and 560SEL. In both cases I used a rattle can primer and then top coat. I wasn’t […]