300TE Tailgate struts
Like a lot of wagons and hatchbacks, the 124 wagon uses gas struts to hold up the tailgate. Unlike most vehicles, these are completely hidden in the structure of the car. I understand this was done both for aesthetic reasons as well as crash safety. My 300TE tailgate struts had started to fail. The tailgate would mostly stay up, but randomly it would slam shut with no warning. This was somewhat concerning, as my twin six year old’s love riding in the back, and it closes with such force it could do one of them quite a damage if it came down while they were climbing in.
In addition, continued slamming of the tailgate will probably damage the trim around the tailgate, and even do further damage. I had this on my list, but I heard it was quite a difficult job to do. Therefore, I jumped at the chance to join a S124 tech day where there would be experienced owners (including an expert from Melbourne) to help with the job, and special tools to get it done faster. I ordered the correct struts (Stabilus) from FCP Euro – they are not expensive. Off brand struts may be slightly cheaper but they fail in months.
The struts in the picture below are the ones I took out of the car. They were made in Germany, the new ones being made in Romania. I generally find the quality of eastern european parts to be good, so I’m not too worried.
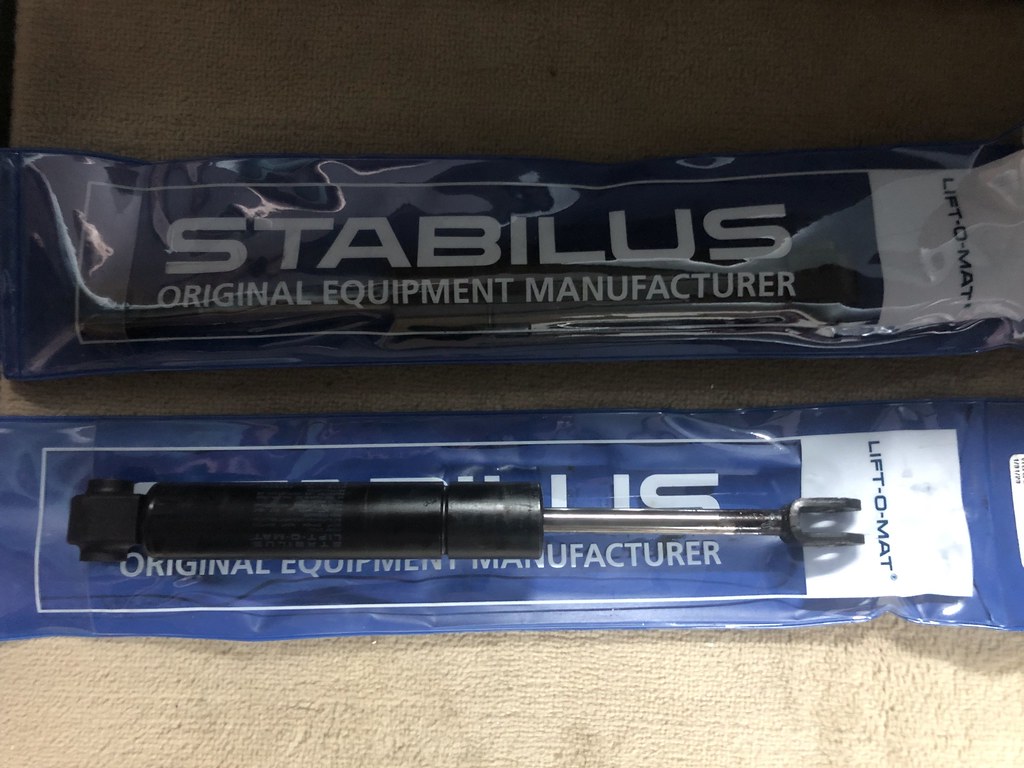 In looking at the old one, I think they were made in 2010. I’m not 100% sure, but it seems to make sense, as a previous owner remembered doing this job and he purchased the car in 2011. So I guess probably one of the first things he did to it. I guess 12 years is not too bad, although given the effort required I would have been hoping for longer!
Step 1: Removing the trim
In order to do this job, a lot of the trim around the rear tailgate must come off. As it is all over 30 years old, and baked in the hot Australian sun, it is now rather brittle. This trim has been NLA for years, so it pays to be very careful. Used pieces are generally no better than what you have.
First thing you want to do is remove everything from the cargo area, including inside the spare tyre well. You also need to remove the cover for the spare tyre well. I placed this on the back seat so it didn’t get dirty.
Next is removing the trim that surrounds the tailgate apature. You start from the bottom. Each piece is installed on top of the last, so order is very important. The first piece is plastic. It is quite long and thin. The side furthest from the aperture is held on with white plastic studs you lever away with a flathead screwdriver, and a screw at the top. The other side tucks into the tailgate seal. That means you can’t just pull it off. You have to rotate it away from the seal gently as there is a ridge tucking under the metal.
Next is a plastic trim piece coverered in vinyl. It also houses the light. The light can simply be popped out of its opening. There is a small phillips head screw at the top and the bottom. the bottom one has already been removed taking off the previous trim piece. The trim then slides down to get the plastic tabs out. It’s quite likely that at least one of your tabs is broken. Mine was on the passengers side. As well as the tabs, part of this trim is tucked under the window seal for the side window. Getting it out is much easier than getting it back in.
Doing this I was also able to removed the wire from a previous mobile phone car kit.
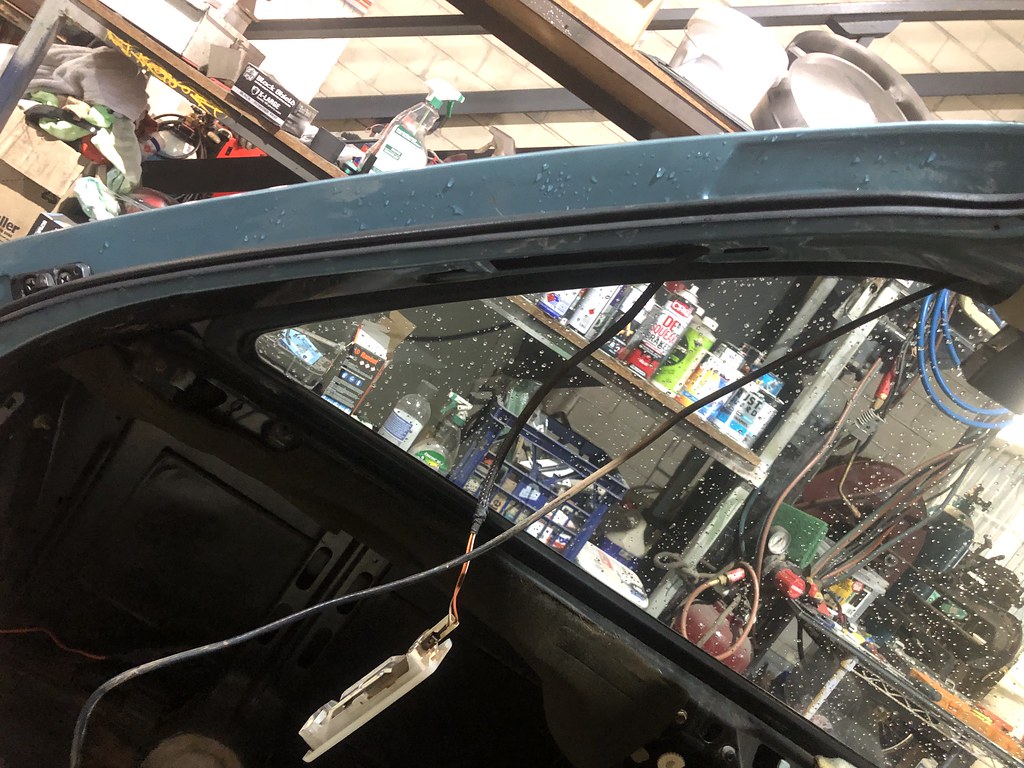 This same process is then repeated on the other side of the car as well. Once these first four trim pieces have been removed, you can now start with the large centre piece at the top.
The first part is to remove the four screws that are facing you as you stand outside the car. Then the two smaller ones at each side on the back of this piece. As well as these four screws, the big centre piece is also held on with two metal tabs. You pull it towards you to release them. The tabs, being metal, is a much better design than the side pieces. As with the last one, the sides are also held on by the window seal.
Once that is done, the headlining needs to be peeled back to get access to the 300TE tailgate struts. First thing is to remove the four black plastic studs, two on each side. They hold the edges of the headlining up. Then the black plastic receptacles for the cargo/dog net. These are held on with an allen key, again one on each side.
Finally there is a metal ‘bar’ at the rear leading edge of the headliner that hooks into tabs in the metal. You have to stretch the headliner a little more to bring it off those tabs. To get enough clearance to work, you then need to ‘sag’ down the first metal lateral bar. A gentle push on it will have it down enough.
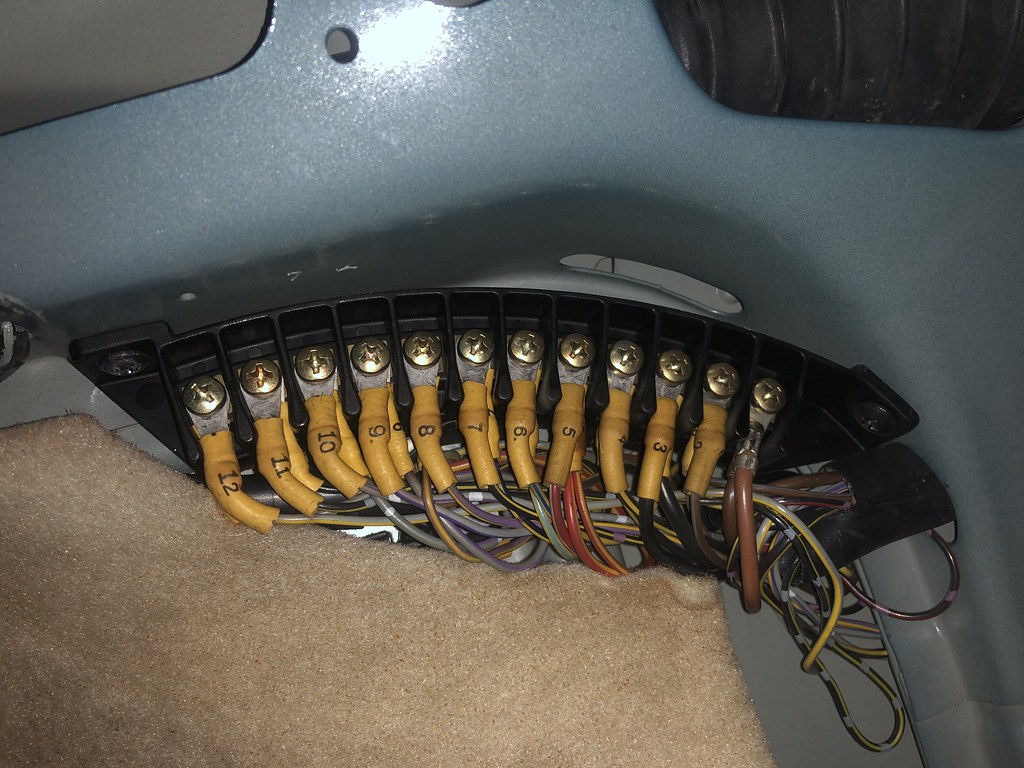
 While it has nothing to do with tailgate struts, at this point you have exposed the rather impressive semi-circular power distribution block. This is the lead off point for all the wiring in the tailgate. The white 300TE was having some issues with the rear demister. The owner of that car traced the wires and discovered that #3 was the wire for the demister. It was broken on his car inside the rubber tube that takes it from the body to the tailgate.
Step 2: Removing the struts
The struts are not easy to remove. They are held on with two pins. The larger of the two pins holds on the main body of the strut and is closer to the front of the car. That pin is held in place by a metal tab that must be bent back to allow the pin to be removed.
Before that tab can be accessed, the wiring harness must be gently pushed out of the way. There is a blue retaining ring that snaps out of the body work that makes this easier.
 The second, smaller pin is held on but a circlip and is closer to the rear of the car. This is the one you remove first. getting this pin out, and then back in with the new strut is the hardest part of the whole operation.
This pin is not particularly visible. It can just be seen if you look down next to the hinge. Unfortunately I didn’t take any photos here as I was too busy helping with the removing and holding a torch to try and see the pin. In any case the technique is to get the circlip off with a hook too or a set of needle nose pliers. A magnet is probably required to retrieve it as pulling it out of the cavity is not easy. With the circlip removed, the pin can be coaxed out with flathead screwdriver or similar. This is really a two person job as it helps having somebody else holding the light and gently moving the tailgate up and down. You’ll certainly need the magnet to retrieve it.
At this point the other strut is not going to hold up the heavy tailgate on its own. A prop is useful here to hold it in place while doing the job. With the tension off this strut, the big pin can generally removed quite easily. It may require a flat head screwdriver to get it started. mine came out pretty easily, but they were lightly rusted on the other car and proved difficult to remove.
Now the strut is just sitting in the roof structure. It slides out towards the front of the car, being careful to get it around the wiring harness. Given the strut was no longer up to holding up its half of the tailgate, it is still pretty impossible to move by hand. The tailgate is seriously heavy and the strut only moves a small amount for a large amount of movement of the tailgate.
At this point, it is better to install the first new strut than remove the second old one. On examining my old struts, I’m fairly sure they were made in early 2010.
Step 3: Installing the 300TE tailgate struts
The new strut slides into the cavity in the same way the old one came out. There are two complications. Firstly, the strut needs to go inside the rubber boot. The rubber boots are important to keep water out of the car. The other car having this job done had one of them cut open. That probably explains the light rust on the strut pins. We repaired that boot with super glue, apparently the best way to repair rubber.
Once the strut is past the rubber boot, the fork on the end needs to be aligned so the hinge is between the two prongs. A second person is important here, to guide you pushing the strut into place, as they can look at the hinge from the outside of the car.
Now for the hardest part of the job. And where the special tool came in handy. The special tool holds the pin perpendicular to a thin metal rod. Basically one hand holds a flat head screwdriver to hold the fork at the right height, and the other uses the special tool to guide the pin into place. Unfortunately I don’t have any photos of this part of the job.
When the pin is fully in (it may require a flat head screwdriver to push it fully in), the circlip is reattached. The recommended way to do this is to stick it into some blue tack on the end of a rod, but since we didn’t have any, we used superglue. Superglue held the circlip to the rod enough to push it onto the pin. It could then be snapped off.
Once the rearmost (small) pin is in place, the larger front pin can be pushed in. This is done with one person standing outside the car, pushing up on the tailgate to adjust the fore/aft position of the strut. And another in the car adjusting the up/down height of the strut with one hand, and pushing in the pin with another. It should slide mostly in fairly easily, and then a small hammer or screwdriver to push it in all the way. It’s important not to forget to push the tab back in place, and clip the wiring harness in when done.
At this point it was time to go back to the other side to complete the swap of the 300TE tailgate struts.
Step 4: Reinstalling the trim.
The trim generally goes back on the car the opposite of how it went on. That means, once the strut is in place, and wiring harnesses clipped back in, the headlining is first. This is quite straightforward.
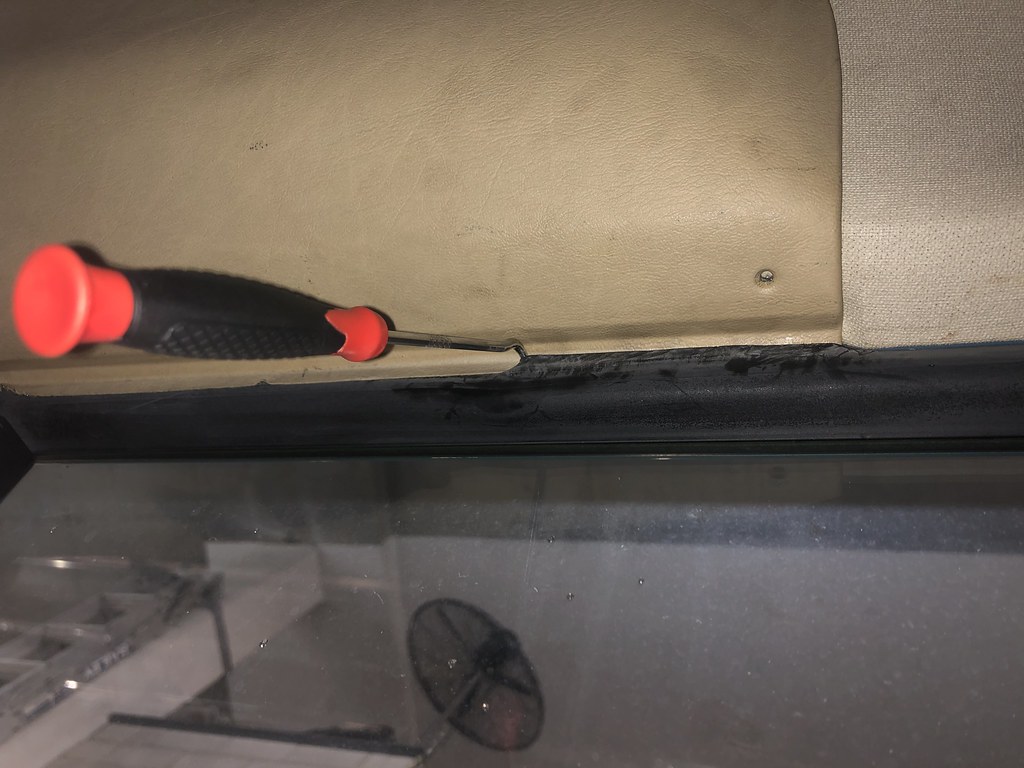
Next is the large rear centre piece. This one also goes on quite easily – first the two metal tabs, then the screws. The tedious part is getting the edges back into the window seal. This is where another special tool came in handy. This was a curved pick tool with the sharp point filed off to a blunt edge. The removal of the sharp edge is important as the point will pierce the window seal.
This is one of those jobs that gets easier once you get into a rhythm, and you move along the seal mm by mm. The next trim piece is also difficult. the plastic clips are now very brittle. I managed to break two of them. I now have one piece with one clip and the other with none. To mount the one with no clips, I used some stick on velcro I had left over from a similar repair to my Citroen DS. I think the plastic tabs are a pretty poor design and they should have used metal ones like the centre piece.
Like with the centre trim piece, the sides need to be tucked into the window seal. The final piece of trim are the two bottom covers which go on quite easily.
From there it is just a matter of putting back the spare wheel and its cover, putting tools away and generally cleaning up. I really noticed the difference in how much more resistance there is from the new struts, and how the tailgate rises up itself when unlatched. It didn’t do this before.
Final comments
I’m really happy to have my 300TE tailgate struts done, and it was great to have so much help in doing so. This is one of the really valuable part of joining car clubs. There are other members with a lot of knowledge who are very generous with their time. It is not all tea and biscuits!










1 Response
[…] 300TE Tailgate struts […]