Hero Hoists Side by Side Parker Installation Part 3
The Hoist is almost operational! The only thing left is to get the unlocking mechanism working. In part two I installed the motor and hydraulic lines. Yesterday an electrician connected up the hoist for me. After fixing a minor hydraulic leak I had a working hoist (sans unlock rod). This is timely as I needed to get the 560SEC inside.
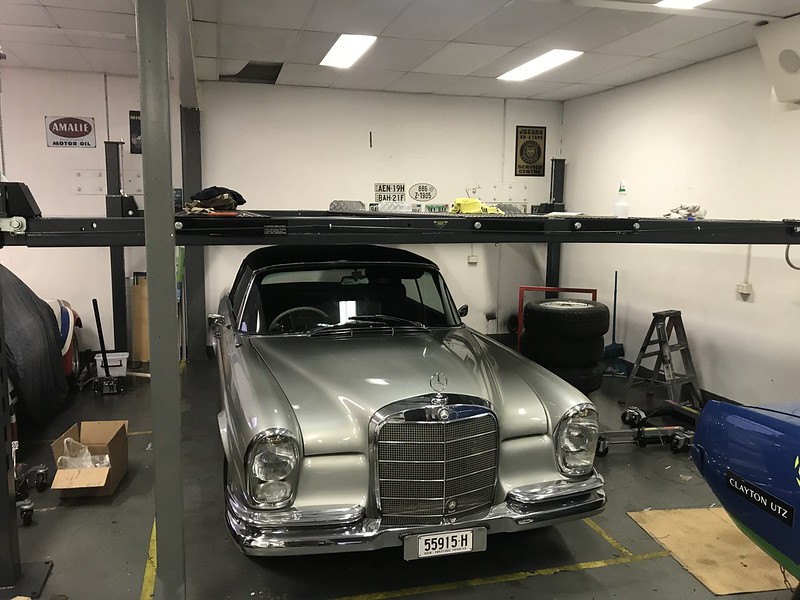
While the unlock rod is not working I can manually unlock the hoist if I need to. I was able to position the hoist at the height setting I’ll likely be using it and park the 250SE underneath.
The hoist is a three phase 415v model. It was no extra charge and since I have three phase power I might as well use it. The motor should be more efficient and last longer.
Today I did final checks and looked to balance the hoist. It was odd because one corner was about 10cm off the rest which seemed strange. On closer inspection I found that the cable had come off its runner. This probably happened when I first applied power to the motor.
As can be seen in the picture, there are rods to stop this from happening. Fixing the problem is pretty easy – put the hoist on its locks to take tension off the cable, disconnect it from the post and remove that rod. It is now easy to re-route the cable and re-install the rod.
Once I had positioned the hoist I was able to measure how much space I would have at various positions. At the most likely one I will have 1344mm above and 1559 below. This should allow me to have the E-Type and 450SLC on top and most cars (Traction excepted) below. I do have the possibility of raising the false ceiling about 120mm to give a bit more room up top which I will investigate in due course. The 250SE is there now, but as it is the widest car I own, it will not usually park under the hoist.
Concluded in part 4.


2 Responses
[…] Hero Hoists Side by Side Parker Installation Part 3 […]
[…] Hero Hoists Side by Side Parker Installation Part 3 […]