M129 rough running
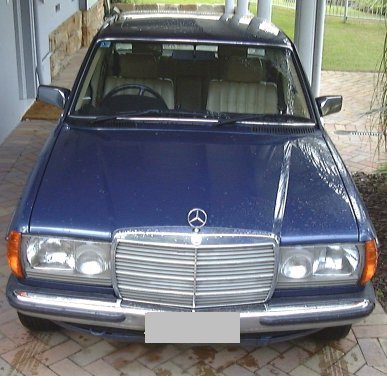
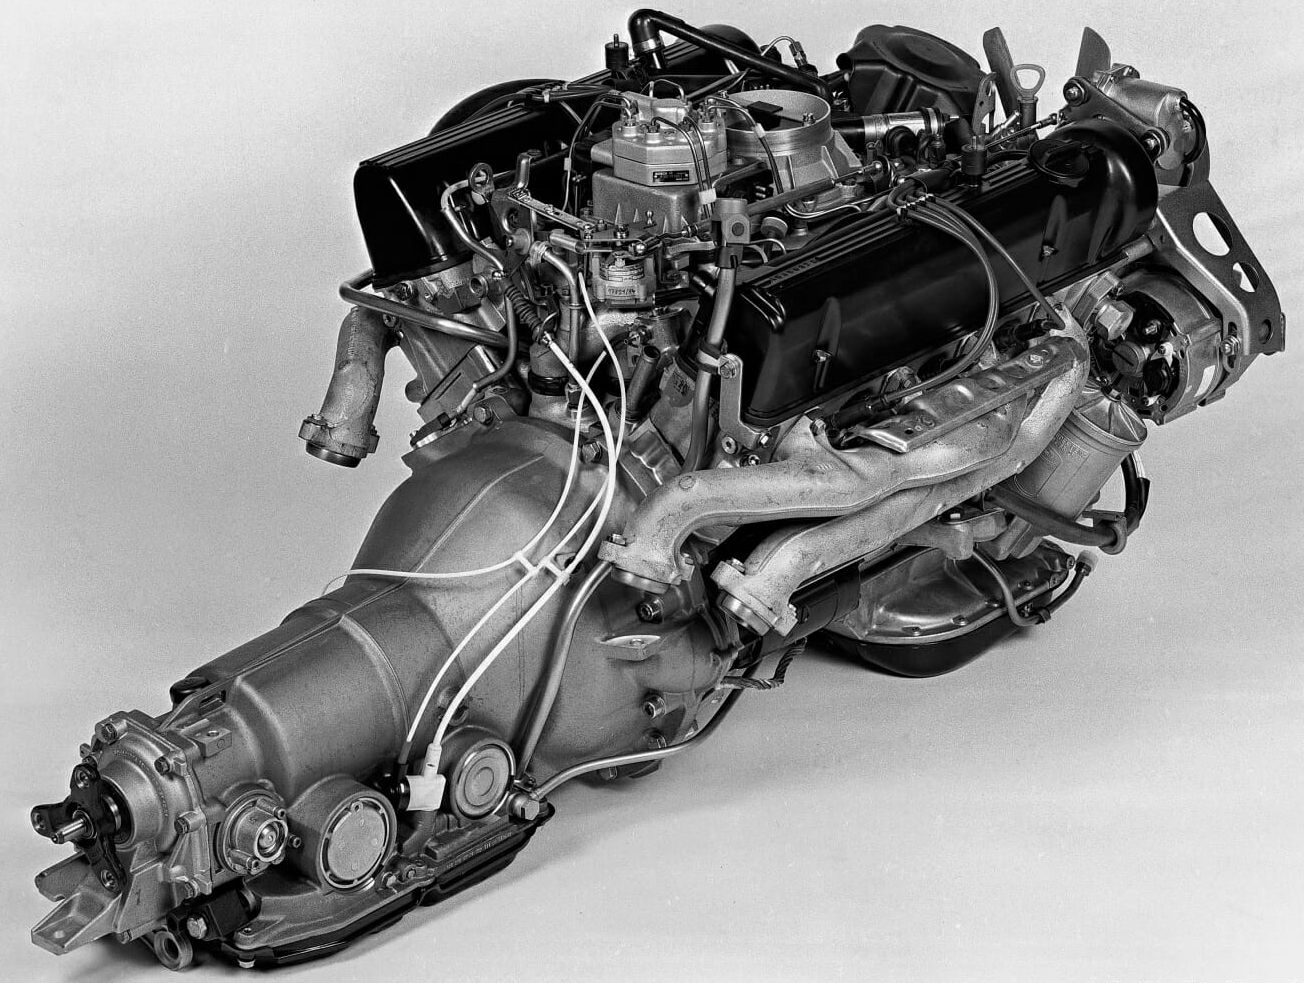
Over the last couple of months I’ve had issues with the M129 rough running in my 250SE. The car was hesitating, idling poorly and just not running very well. I’ve done a few things over the last few months to improve this situation.
One of the first things I did was change the injectors. The stutter when accelerating and hard starting when hot felt like a symptom of poor injectors. I also didn’t want the situation of a leaky injector washing down my cylinder walls. While not as cheap as the K Jet injectors, the MFI injectors are still available from Bosch and are not exorbitant. The same cannot be said for the special ones used on the 6.3! I didn’t do that job myself as it requires a special tool I do not have. I had this job done at the same time as having the valves adjusted.
The next is a solenoid on the transmission that was impacting idle in gear. The idle was too low even when adjusting with the idle air screw. I’m not exactly sure what was wrong here, but it did fix my low idle problem.
The car also had a weak spark, so I had the coil and points changed. When that was done, it was pretty apparent that the cap and rotor needed changing too, which is the part of the job I did myself. This should have been so routine I would hardly need to mention it here, but there were a few things that I discovered along the way.
On the 80s cars, the distributor caps are marked with the cylinder numbers which makes installing them dead easy. The older caps are not so marked. This isn’t a problem if you’re just replacing the cap, as you simply hold it with the same orientation and move the leads over. My problem was that in my haste I dropped the old cap and lost my orientation. So much so that when I attempted to start the engine, it was extremely unhappy and didn’t start at all. Obviously I had the order wrong.
This shouldn’t be a problem though. If you can identify #1, you can start there and go around the cap with the firing order of the engine. This is 1,5,3,6,2,4. It wasn’t obviously apparent which one was #1. In the end I discovered two ways of doing it.
The first is on the distributor there is a very fine line marked on the top of the outer rim where #1 should be. You should be able to feel it with your fingernail. From there, I noticed that the cap is actually marked. There is a subtle raised section next to where the lead goes into #1. In the photo below I have marked it with white paint.
The first time I did this, I just pulled on each lead to try and trace to each cylinder. This is the lazy way to do it, as in the end I was wrong and the car still didn’t run. Instead, I ended up doing it properly by taking off the leads and numbering each one, and also numbering the cap. Perhaps overkill, but I ended up with a running engine this way.
The next step was to replace the plugs. I had found these all fouled up on the 450SLC after I replaced those injectors. They were even worse on the 250SE. At least these plugs are much easier to swap out. There are only six and access is very easy.
After replacing the plugs I took the car for a test drive. It is a lot better. Still not perfect but now all these components are fixed, it is probably worth having it tuned again. It may also benefit from some good drives to clear everything out. I’m planning on taking the car on a longer drive next week and will probably also take it on the next night drive. At least for now, I seem to have no more M129 rough running.


1 Response
[…] had motor and transmission mounts, front crank seal, re-sealed power steering pump, injectors, distributor cap and rotor, points, condenser, coil, plugs, alternator, voltage regulator and more done. The spark had […]