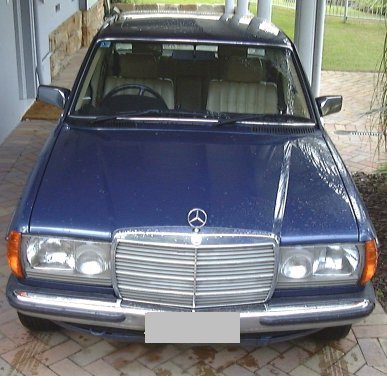
Citroen DS21 Rejuvenation
When I purchased my Citroen DS21, what attracted me to it was that it was the model I wanted and virtually rust free. It provided a solid foundation, but needed a bit of attention on some cosmetic items to get it where I wanted to be. This post is meant as a summary of some of the improvements that I have done since I purchased the car.
Instrument Cluster, Temperature Gauge and Radio
- Getting all the warning lights in the instrument cluster working
- Converting from MP/H to KM/H
- Installing a temperature gauge sender and connecting to the gauge
- Installing the Retrosound Model 2 radio and speakers (Part 1, Part 2, Part 3, Part 4, Part 5, Part 6, Part 7, Part 8, Part 9, Part 10 – To come)
Interior
- Replacing Targa seat covers with new velour covers (Part 1, Part 2, Part 3, Part 4, Part 5, Part 6, Part 7, Part 8)
- Adding headrests for driver and front passenger (see seat covers)
- New Carpet
- New rear shelf trim (included in radio upgrade)
- Fitting the rear interior lights that were missing (Part 1, Part 2)
- New Steering wheel tape (Part 1, Part 2)
- New door cards to match seat covers (Part 1, Part 2, Part 3, Part 4)
- Replacing marine carpet with proper vinyl sill trim (Part 1, Part 2, Part 3, Part 4, Part 5, Part 6)
- Renewing the outer sill trim and inner door seals (see sill trim above)
- Replacement of door contact switch and shift gate
- Fitting parking brake pedal cover
- Attaching rear headlining
Exterior & Engine
- Wet sanding and polishing (part 1, part 2)
- Metal polish the chrome and bumpers
- New rear view mirrors
- Fitting the correct wheel trims
- New Air cleaner hose
- Cooling system flush (Part 1, Part 2, Part 3)
- New Water Pump, Radiator re-core and heater core
- Carburettor fuel fitting
- Removal and checking of suspension spheres
- Replacement of Accumulator Sphere (Part 1, Part 2)
- New indicator lenses for the front (Part 1, Part 2)


